How Many Dudes Guide: Top 10 Tips for Newbie Dudes
Want to level up your Dudeness? Check out this new player guide assembled by the Dev Dudes!

This guide is for the full release of How Many Dudes on July 30, 2026, although many of these tips apply to the pre-alpha Demo version as well!
Every Dude is Strong
TLDR: A Dude will only be weak if you ignore him!
The most common mistake new players make is to assume a Dude is weak, so they never choose any Relics for that Dude, and then that Dude falls behind his teammates and never gets a chance to shine. Truthfully, the only weak Dude is a neglected Dude. Every Dude in How Many Dudes is extremely strong if you give him a little love!
Some Dudes are more complex than others, though, and it may not be obvious at first how to tap into his strengths. and having a Dude reach his potential comes down to all kinds of factors. He needs his Relics, of course, but he also needs the right stats, teammates that support him, and a Trinket that lets him Dude it up to the max.

As you play with each Dude, take the time to try to understand how his Ability and Relics work, which stats he benefits from, and which Trinkets can augment his role the best. Over time, you'll see all kinds of synergies and connections that will let you exploit each Dude's strengths, turning him into a rolling ball of Dudestruction!
Not sure? Click it!
TLDR: Click stuff if you want to know more about it!
Just about everything in the UI of How Many Dudes is clickable, allowing you to get more information about something if you aren't sure what it is.
- Not sure what a stat is? Click it!
- What does that icon mean? Click it!
- What does that word mean in this tooltip? Click it!
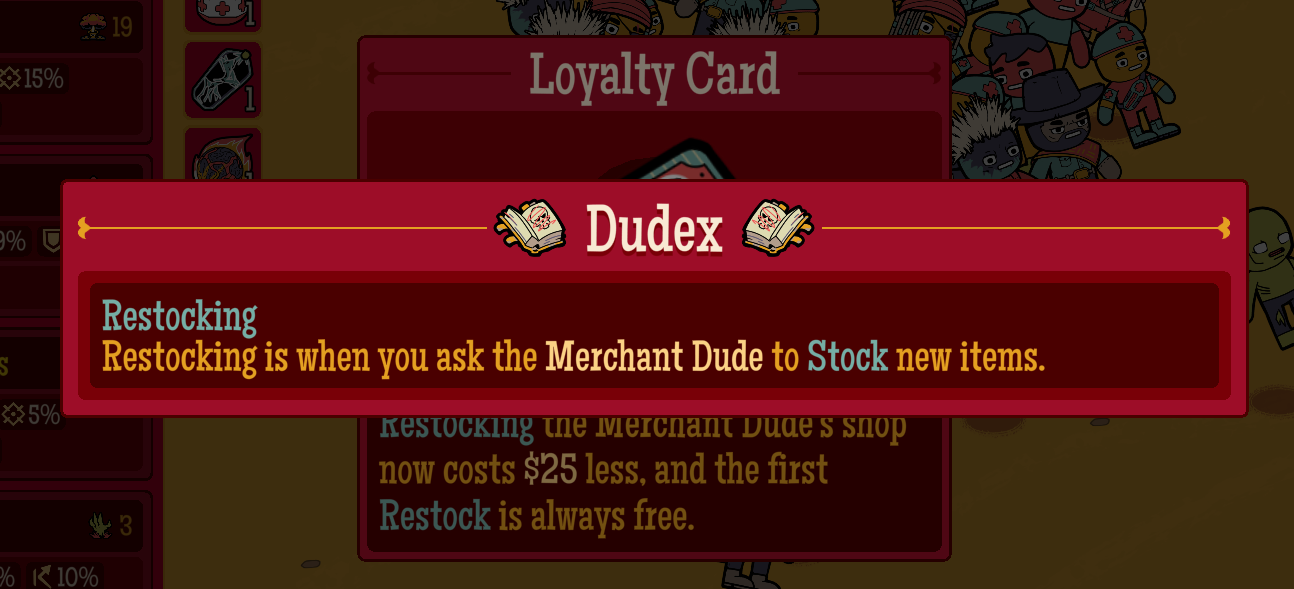
Aside from the myriad tooltips and popups that can explain whatever you're curious about, the game also has a built-in glossary called The Dudex that provides even more in-depth explanations of pretty much everything, so you should never have to stress about being unsure of what something means. Just click it!
Hold the Juice!
TLDR: Use Dude Juice sparingly to save cash!
Sometimes, you'll find yourself with a bunch of unconscious Dudes, and you'll face the ultimate question: To Juice... or not to Juice?
It can be tempting to think that you always need your whole team in top fighting shape to progress through the next round, and that you need to therefore slam Dude Juice whenever you have any unconscious Dudes. But often, your team can keep bagging wins even if a portion of your Dudes are unconscious.
If you're aggressively chugging Dude Juice at the first sign of trouble, you'll end up burning cash unnecessarily, because every Dude Juice will cost you, one way or another – either because you bought it, or because you'll really need it later.
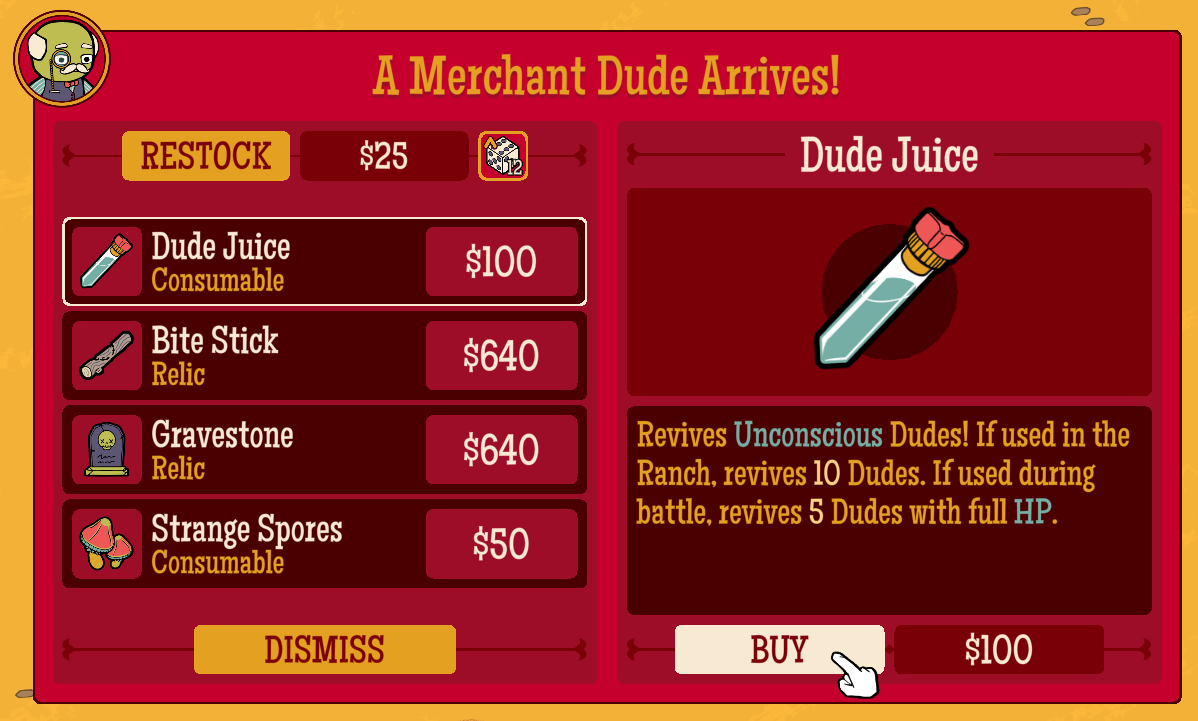
Your Dudes will recover on their own after a few rounds, so if you learn when to trust in your team and let them just grind out the wins while dragging some unconscious Dudes along, you'll end up saving a lot of money on Dude Juice. And that's money you can put into more Relics!
Don't Fear the Tier
TLDR: Try a run or two in higher Tiers for some quick rewards!
To fill out your full collection in How Many Dudes, you'll need to move up to Tier 2 and Tier 3 at some point. This can be intimidating at first, so players will often wait until they've fully maxed out their collection in the current Tier before moving up to the next one.
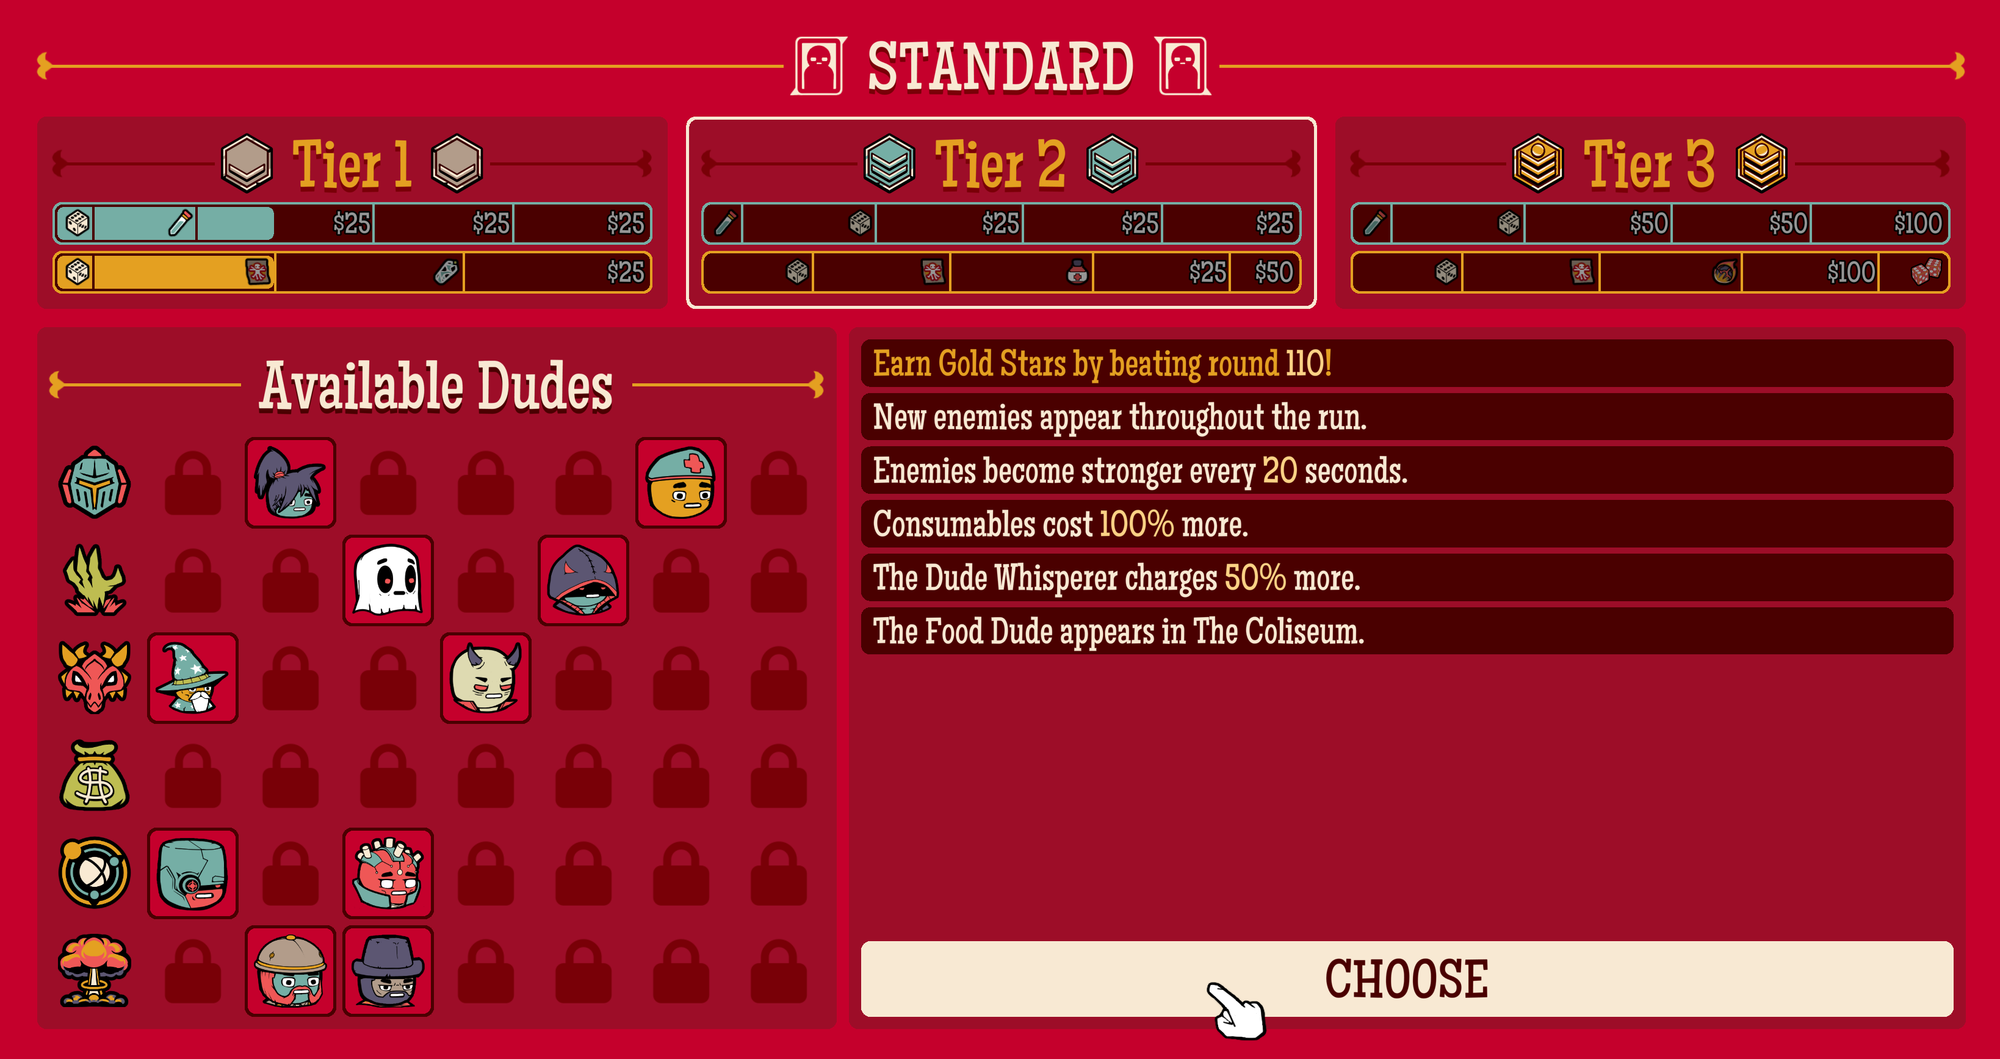
This isn't necessarily a bad approach, but there are some nice upsides to dipping into a higher Tier every now and then before you've fully finished the current one.
For starters, Tier 2 and Tier 3 have some early rewards that you can potentially unlock in just one or two runs. Why not just give it a shot? You might get lucky!
Second, Gold and Silver Stars for Relics and Trinkets get retroactively applied to lower Tiers. So if you have just a few Relics or Trinkets left to get Stars for in Tier 1, you can jump up to Tier 2 and earn those Stars there, and it will cascade down and backfill in Tier 1, so you could potentially finish your Tier 1 collection while not even playing in Tier 1. That's EFFICIENT!
And finally, Tiers 2 and 3 each have new constraints that will force you elevate your gameplay. If you can figure out how to have a successful run in those higher Tiers, you can take those lessons with you back to the earlier Tiers as you finish off your collection, and you'll have a much easier time.
Maximize Your Dudeconomy
TLDR: Save as much as you can and invest with the Business Dude.
How Many Dudes might seem like it's a game about Dudes beating stuff up, but secretly, it's about compound interest.
If you don't have much cash, life is hard. You gotta choose which Relics to buy and which ones to ignore. You gotta skimp on consumables. And as you approach the endgame, your team will only have a few dozen Relics, and your Dudes will start getting slapped around by swarms of Feral Hogs and unrelenting Zombie Bears.
But what if you had the cash to buy nearly every Relic you see, and you had acquired a stockpile of consumables as high as Mount Dude? Your Dudes would be unstoppable!
BUT HOW? How does one obtain such wealth?
In one word: compound interest. Did I say one word? Looks like my one word turned into two words, because that's how compound interest works.
Thrice per run, you will be given the opportunity to invest your cash with the Business Dude. He'll scurry off with your money, and he'll come back later with double that amount. So if you give him $1,000 the first go-around, he'll come back with $2,000. If you give it back to him again later, he'll turn it into $4,000. And his final investment round will turn that $4,000 into $8,000.
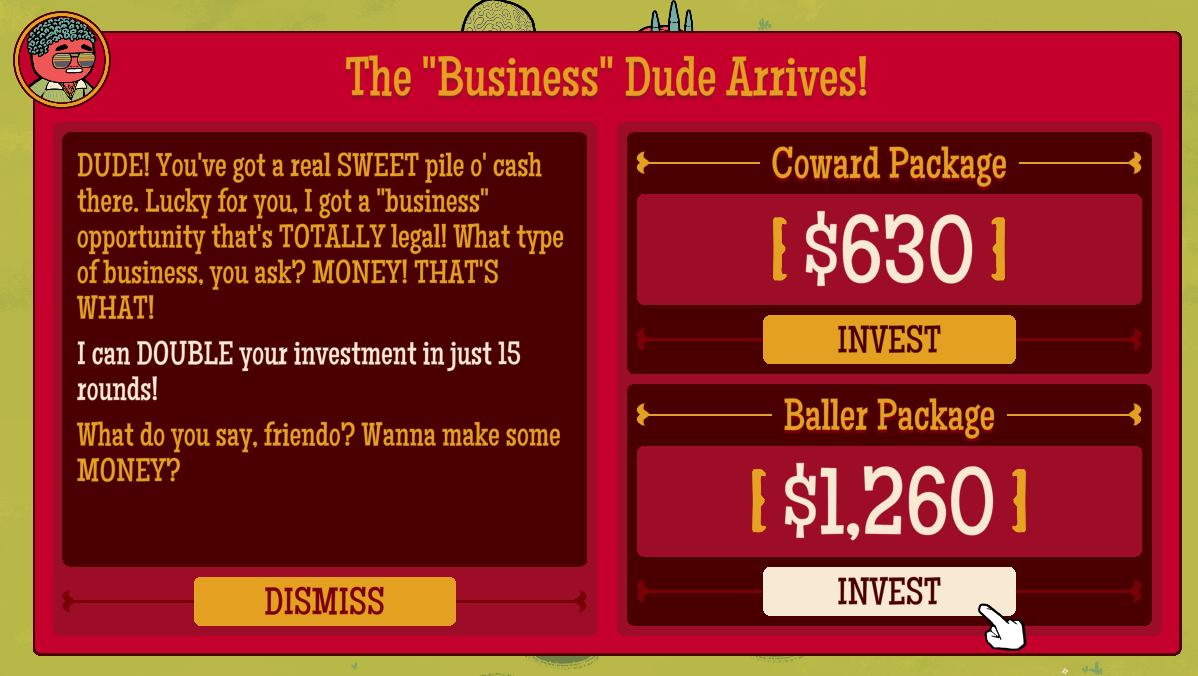
The more money you can save to hand over to the Business Dude, the bigger your cash pile will be at the end of the run. This is no easy task, because it means forgoing Relic purchases, pinching pennies on consumables, and otherwise trying hard to avoid the temptation to buy all kinds of goodies you want. In other words, you need to be strategic and make the early game a little harder in order to make the late game easier.
Sometimes it won't pan out, as you may skimp on too many purchases, resulting in your team being far too weak to handle the dangers ahead. It's a delicate balance, but if you play it right, you'll end up with a massive pile of cash late in the game, and you'll end up with so many Relics your UI will barely fit them all!

Be Brave. Try Weird Stuff!
TLDR: Branch out and try weird teams to discover new synergies.
In your first few runs, as your Dudes are being back-handed by Silverbacks, poisoned by King Cobras, and swarmed by Seagulls, it can be tempting to go all-in on defense and healing to protect your Dudes. Indeed, many Newbie Dudes do exactly this: building tanky teams that do very little damage, with the goal of simply outlasting your opponents.
However, How Many Dudes isn't just about avoiding death. It's about living your best Dude Life to its fullest! And as you go deeper into the game, learning how to create truly weird synergies is what will ultimately carry you through those Tier 3 Gold Stars.
But the only way to learn about all that is to go wild and let the chips fall where they may. Just try stuff! Mix and match Dudes that might not seem very strong together at first. Do the Daily Dude! Make weird teams! Come up with theories and test them out! You'd be surprised at what your Dudes are capable of when given the chance.
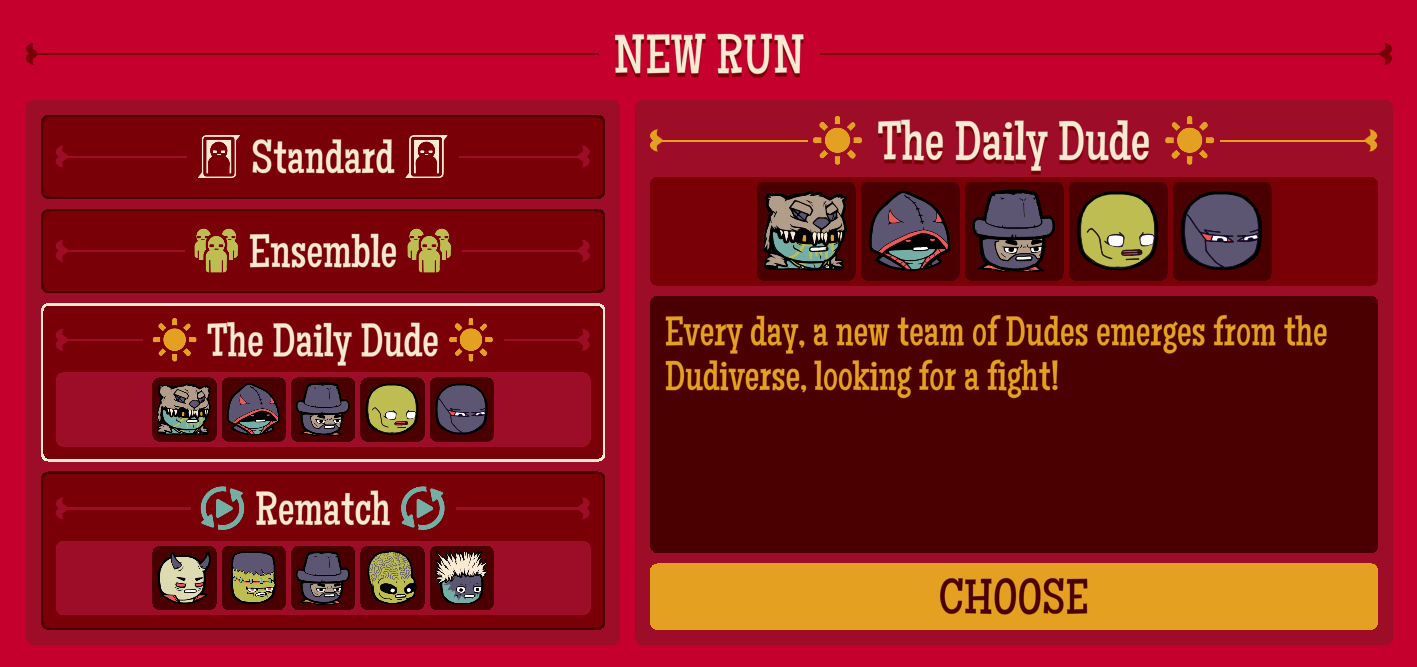
If you're looking for inspiration, here are some starter ideas:
- Try making one Dude Type as powerful as possible. Got a Samurai Dude? Pair him with an Alien and give him a Taser! Or try using Ninja Dudes as the Lich Dude's Thralls to put them in perma-stealth while giving them a huge amount of Crit, Cleave, and Attack Power. Or stack as many Hacker Dudes as possible while giving them as much Crit Chance as you can find so they're compiling a billion Exploits per second. Heck, you can even make a team that does ALL of the things I just described!
- Try a run with no Tanks or no Healers. How would you do it? If you win rounds so fast that the enemies hardly have a chance to deal damage, do you even NEED healing?
- Pick a powerful Relic and maximize its potential by building a team around it, like the Explorer Dude's River Raft, the Electrician Dude's Fuzzy Socks, the Druid Dude's Bear Knuckle, the Cowboy Dude's Bandoleer, or the Warlock Dude's Shadowy Funnel. There are tons of Relics out there that can carry your team to victory practically on their own if you augment them properly and build your team around them.
- Use Dudes in unconventional ways. How about turning a Medic Dude into a tank by putting a General Dude above him? Or making Trooper Dudes into healers by giving them a Medical License? There are lots of ways to bend a Dude's abilities into new territory, so get creative!
Some of these ideas can be tricky to pull off, but when they work, they can do pretty incredible things. Be brave! Try weird stuff!
Plan For the Big Bosses
TLDR: Make sure your team has the right tools to beat the bosses in the endgame.
As you first start playing, your first goal is to get gold stars by defeating the G.O.A.T. in Tier 1 on round 105.
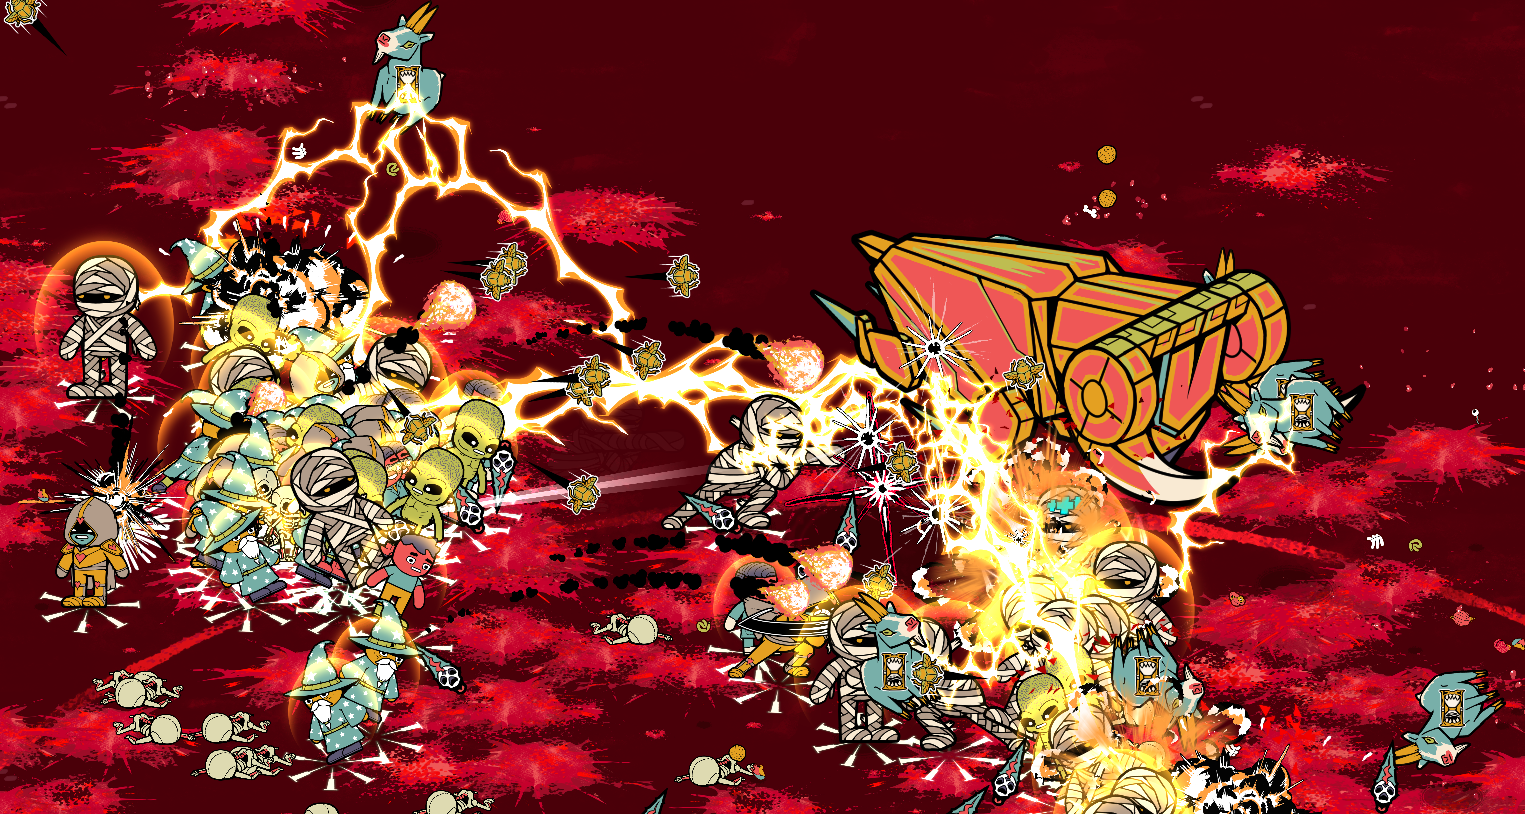
The G.O.A.T. is a pretty tough boss that has put many a Dude into the dirt. It has a lot of health, it can do big bursts of damage, and it zips around the battlefield, smashing Dudes in its way, and forcing your team to chase it around. Oh, and it comes with several hundred Ram minions that you have to deal with.
As you're choosing your Dudes, Relics, and Trinkets, you'll want to make sure that your team has a way to deal with these mechanics. You need to be able to survive big hits, which you can do in a variety of ways – Toughness, Max HP, Temporary Health, or even just Cheat Death Relics or abilities (the ones that save you from Fatal Damage). You'll also want at least a bit of mobility so your team isn't slow-walking all over, chasing the G.O.A.T around as it shocks everyone to death.
If you can cover these bases, your team will have no issue with the G.O.A.T. But if you aren't thinking about them at all, you may have a team that does extremely well all the way up to round 104, and then gets turned into a G.O.A.T. pancake.
When you reach Tier 2 and Tier 3, the new endgame bosses introduced in those Tiers will test other aspects of your team, and there's a good chance that your first attempt or two will end in defeat. But that's all right! It's just part of the learning experience.
The important thing is to watch what the boss does, how it moves, and what its abilities are. Then, the next time you're working toward your next Gold Star, try to figure out a combination of Dudes that can handle whatever that boss is throwing at them.
Synergize Around Stats
TLDR: Learn which Dudes like which stats, and find ways to boost those stats.
Some Dudes have affinities for certain stats, while other stats don't do much for them at all.
- For example, the Mutant Dude gets a big boost from Cleave, Attack Power, and Attack Speed, but his healing throughput is unaffected by Crit Chance.
- The Pirate Dude really wants a lot of Evasion and Crit Chance so he can Taunt as much as possible and avoid damage.
- The Knight Dude just wants a lot of Toughness and Max HP. Crit Chance does help him deal some extra damage and get some more taunts in, but it's not quite as important to his role.
- The Electrician Dude wants Attack Power and Run Speed. Once he gets decked out in Relics, he doesn't have much use for Attack Speed.
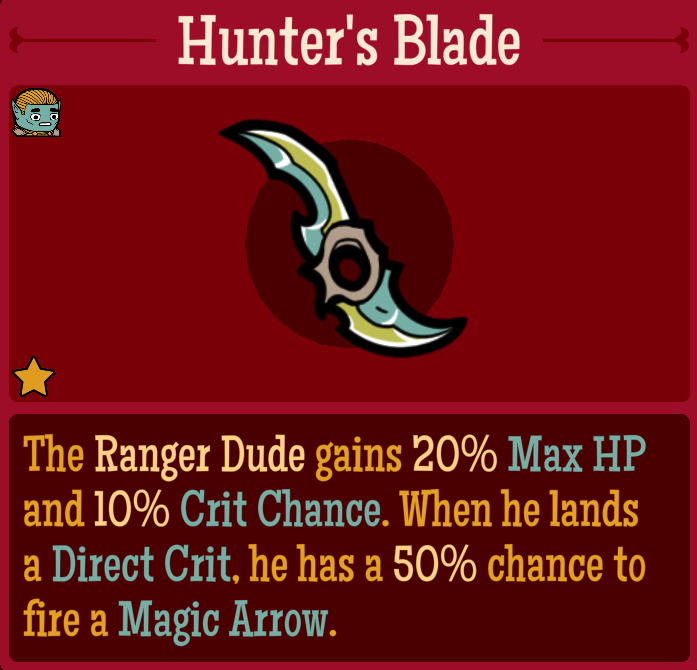
As you learn more about which stats each Dude benefits from and why, you'll be able to build teams that provide Dudes with the stats they need so they can really shine.
However, it's easy to go overboard. If you decided to try to build your whole team around one stat, you might end up with some weaknesses that leave your team vulnerable. For example, if you go all-in on making an Evasion-based team, your team will indeed end up with very high Evasion, but there's a good chance that their damage output will suffer, or that they'll end up getting one-shot by tougher enemies when they fail to evade a big hit.
It's all about balance. Make sure your Dudes have the stats they need, but don't neglect every stat for the sake of maximizing one. It rarely ends well!
Understand the Relic Pool
TLDR: Skew luck in your favor by controlling the pool of available Relics.
How Many Dudes gives you several levers to pull that can determine how easy it is to get the Relics you want, and two of these levers are available early in each run: Dude Families, and Pre-Posted Flyers.
First, let's talk about Dude Families. Every Dude Type belongs to a Family (except Regular Dudes; they have their own thing going on), and each Family has a collection of eight Relics. When you post a Flyer for a certain Dude Type, his seven Relics and his Family's Eight Relics get added to the pool of available Relics.
Each Relic can only be added to the pool once, so if I have a team that's only comprised of Undead Dudes, I'll have the eight Undead Family Relics in the pool, and 35 Dude Relics. This means the chance of getting Dude Relics is quite high, and the chance of getting Family relics is quite low.
But if I have Flyers posted from five different Families, then I will have 40 Family Relics and 35 Dude Relics. So my chance of getting those Dude-specific Relics goes way down.
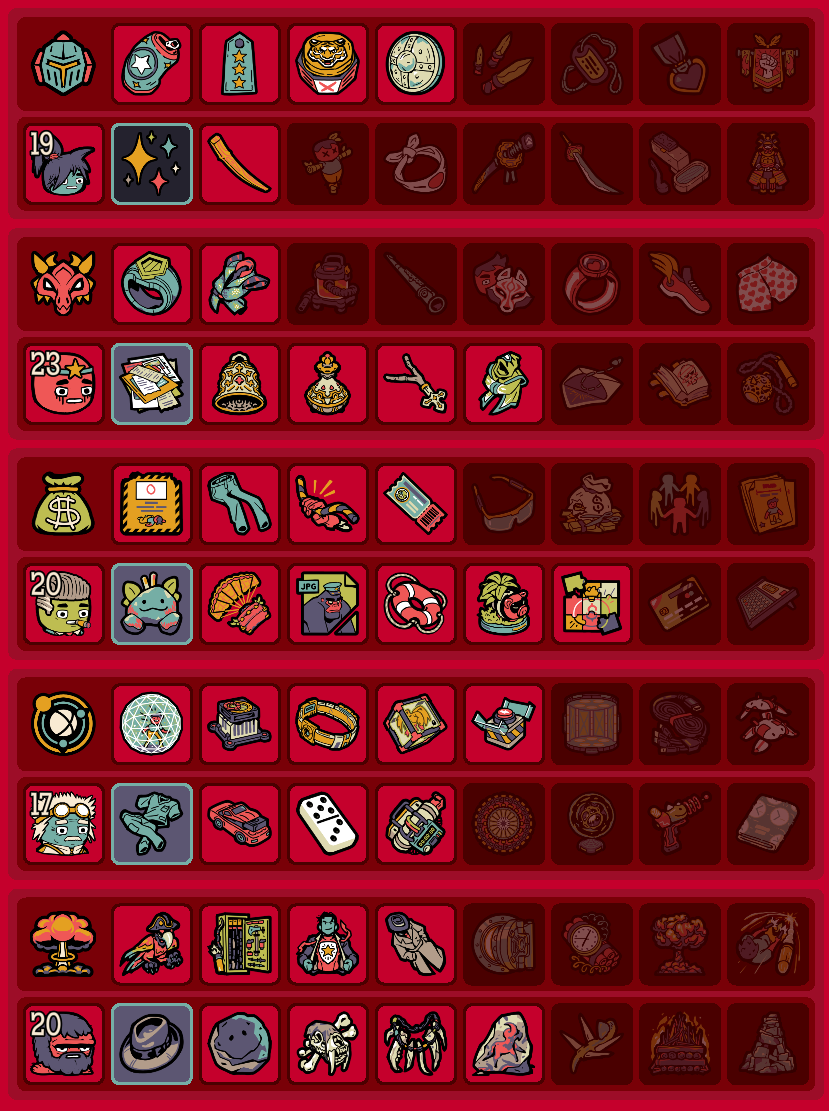
What's the right strategy? It all depends on what you're trying to do and how confident you are in your Dudeconomy management. Adding more Dude Families gives you access to more Relics, but it can also make it harder to get a specific Relic that your team really needs.
Second, it's important to understand the consequence of Pre-Posted Flyers. A Pre-Posted Flyer is one that gets posted before the run starts. These come from the Daily Dude, Rematch Mode, and Ensemble Mode.
In the Daily Dude and Rematch Mode, all five Flyers are pre-posted. In Ensemble Mode, you get to decide how many Flyers get pre-posted.
If you have five pre-posted Flyers, that means the entire Relic pool is available immediately. That can be good, but it also means that if your team is built around trying to maximize a certain Relic, or if there's a certain Relic that you must get for your strategy to work, the chance of getting that specific relic is quite low.
One strategy you can use in Ensemble Mode to balance this out is to pre-post a partial team. For example, if I want to do something with Vampire Dudes as my healer, then I'm going to really need the Blood Bag relic. So if I pre-post just the Vampire Dude's flyer, and maybe one other Flyer, then the Relic pool is very small at the start, and there's a much better chance I get the Blood Bag. Or I can just pre-post all five Flyers and pray to RNGesus, which, let's be real, works every time.
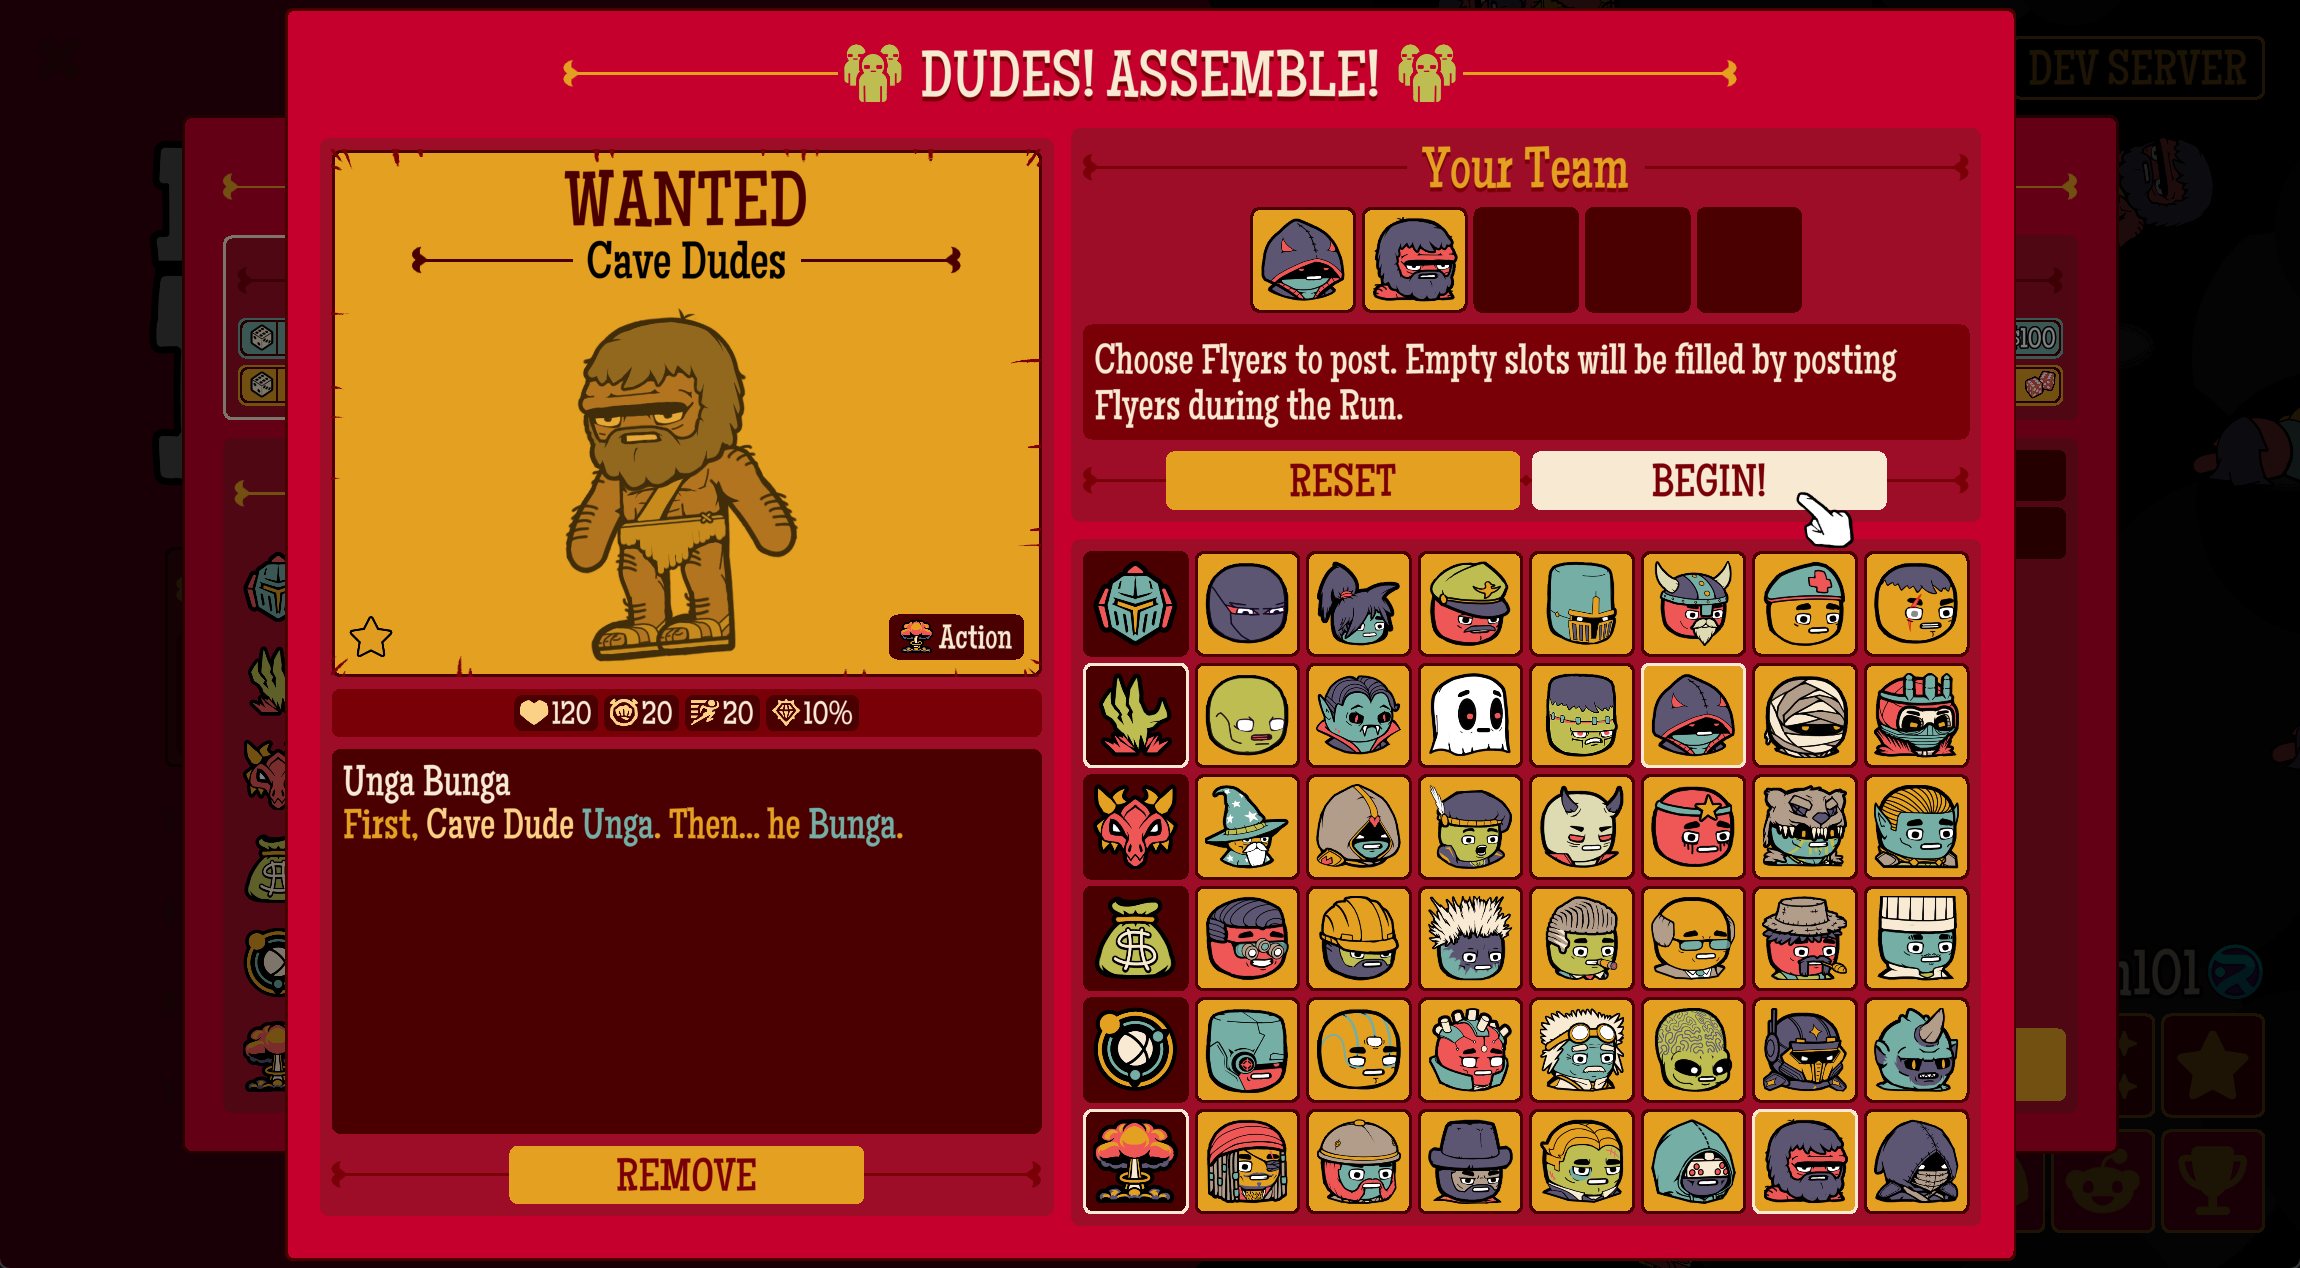
Either way, as long as you understand how your decisions affect the Relic pool, you'll discover a variety of strategies to maximize your team's success by skewing the Relic pool in your favor.
Save Yourself!
TLDR: Bias toward preventing your Dudes from getting Knocked Out so you can take bigger risks and save money on Dude Juice.
The last bit of advice I have for you, my young Dudelings, is pretty simple: avoid having your Dudes get knocked out however possible.
Once you lose some Dudes, you'll start the next round at a disadvantage, and you'll have a higher chance of losing even more Dudes, which can put you in a hole that's hard to climb out of. The best strategy to avoid this, of course, is to simply not have your Dudes get knocked out to begin with. Here's how!
First, watch out for one-shots. Some larger enemies will hit hard enough that they can take out a Dude in a single strike. Fortunately, these enemies don't start showing up until midway through most runs, so you will have some time to fish for Relics and prepare. In the early rounds of a run, bias toward choosing relics that give your team Toughness, Max HP, or Temporary Health. All of these are great ways to ensure nobody on your team gets one-shot by a rampaging Moose or a Shotgun Turtle, since they guarantee that the next hit you take will be handled.
Evasion, Deflection, and Block Chance are super useful defensive stats in their own right, but they work better for mitigating lots of small hits. After all, if you have 99% evasion but low Max HP, then 1% of the time, you'll still get one-shot by a Silverback Gorilla's backhand. So having that extra padding of Max HP, Toughness, or Temporary Health keeps things safe.
Second, be on the lookout for "Cheat Death" options. These are Relics or Trinkets that allow a Dude to avoid being knocked out if he does take Fatal Damage (damage that brings his HP to zero). Some Dudes innately have Relics to accomplish this, like the Electrician Dude's Circuit Breaker or the Vampire Dude's Bat Wings. So when those Relics pop up, grab them if you can!
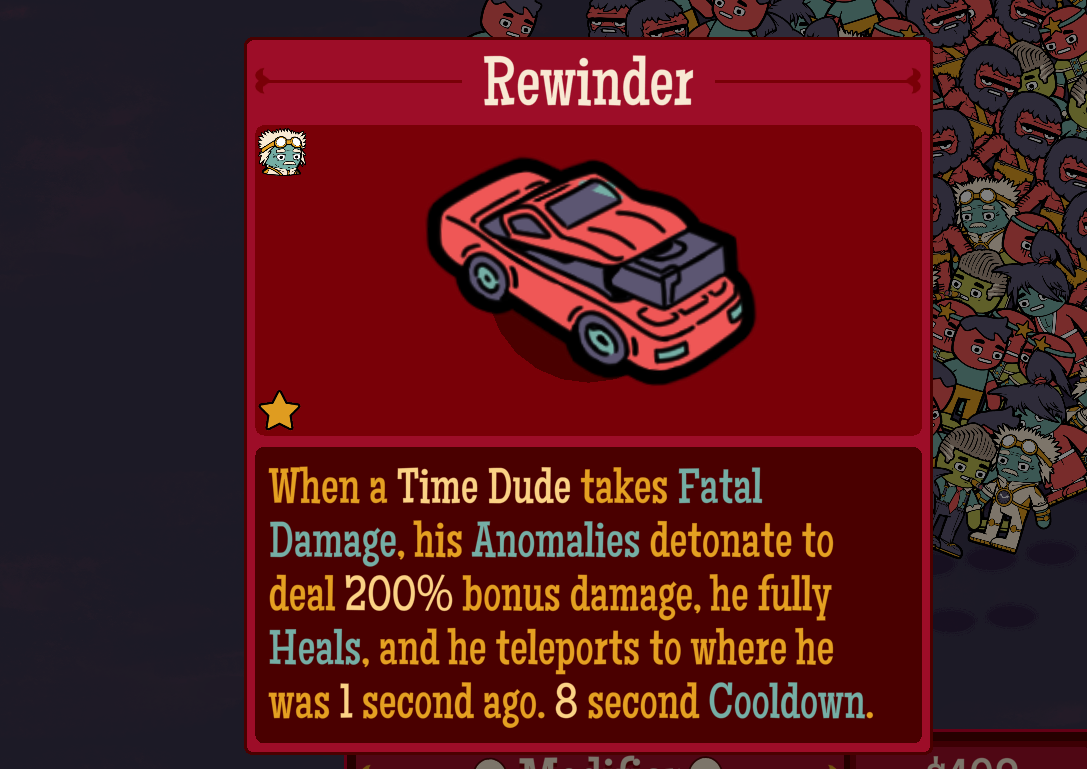
But not all Dudes can do this, so you'll want to ensure they at least have a fighting chance. If a Dude has no Cheat Death Relics, you can try to give him more Max HP or Toughness, give him a Trinket that makes him less likely to get one-shot, or pair him with other Dudes that can protect him.
With a handful of Cheat Death abilities on your team, you'll find that it becomes much easier to gamble on taking on the harder fights to get more cash, and you won't be burning as much money on Dude Juice.
Last, don't sleep on Consumables. Every Consumable has the ability to save your Dudes' lives in a pinch.
- Meteors can stun strong enemies and separate them from your vulnerable Dudes. And if you have the Padded Helmet relic, you can even give your Dudes some Temporary Health by hitting them with Meteors!
- Bottled Lightning can be a gamble, but it can sometimes take one or two big enemies off the map completely, or take out a larger number of weaker enemies (and stun them).
- If you have many Dudes on your team with high Max HP, Strange Spores can keep your weaker Dudes healthy by spreading the HP around. And if you have the Fairy Ring relic, it'll also boost your Healing for its duration, helping to keep your team in tip top shape!
- Health Potions keep your Dudes healed up, but they also grant Temporary Health if they Overheal. So even if your team is healthy, you can pre-emptively use a Health Potion to ensure nobody on your team gets one-shot by a bit hit. And with the Pumpkin Latte Relic, you'll also get a brief Toughness boost from using a Health Potion, giving your team even more durability.
- Burner Phones grant any affected Dudes a nice chunk of Temporary Health, so even if you don't need to move them, you can Burner Phone them in a pinch to keep them safe. Or, if you have a group of Dudes who are getting shredded by a big enemy, use a Burner Phone to move them across the field to safety!
Get out there!
And that's it! I hope you found this introductory guide useful as you venture out into the Dudiverse to become the best Dude you can be. Good luck!